Creating a character for a cartoon is not just about drawing. It is a whole process in which every step matters and affects the final result. From the initial spark of an idea to the final rendering, artists and designers need to consider many factors, from the character’s personality and motivation to their visual style and interaction with the world around them. Let’s dive into this creative process by looking at each stage of creating concept art for an animated character.
- Research and idea development
First, try to analyze the character’s personality, interests, history, and motivation. These determine their role in the plot and their relationships with other characters. This is important because it allows you to give meaning to every detail of the design, which the viewer will notice and love about your character.
At this stage, try to take more notes with descriptions, explore historical and cultural contexts, and compare with other well-known characters. If you don’t have any fresh ideas, try brainstorming.
- Creating sketches
The next step is to develop different options for the character’s appearance. Experiment with shape, size, poses, and facial expressions. Keep in mind the psychology of form and use it to achieve the best result. It is also very important to create a recognizable silhouette for the character. This stage allows you to visualize and explore different aspects of the character, which helps you find the most successful design.
Try not to limit yourself to your first ideas; draw lots of options, even if they seem unusual, bold, or funny. Often, brilliant solutions are born from experimentation.
- Design details
Next, you can move on to working on specific elements of the character’s appearance, such as clothing, accessories, hairstyle, etc. Good attention to detail will reveal the depth and originality of the character, making them more memorable.
Make sure that the design includes shapes of different sizes: large, medium, and small. This will make it more attractive. Use a variety of sources for inspiration, but remember that the details should emphasize the character’s personality.
- Color palette and textures
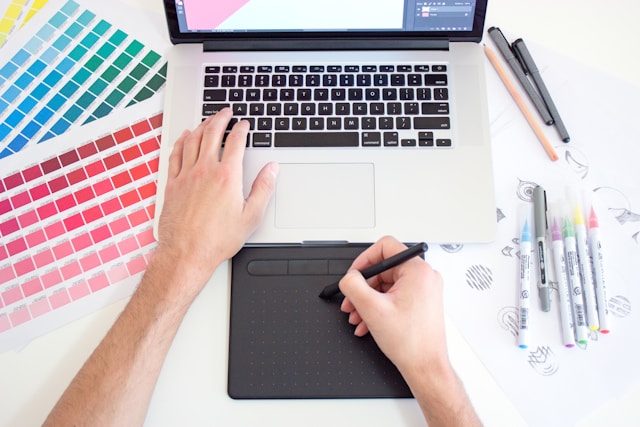
The next step is to choose the character’s color palette. At this stage, textures for clothing, skin, hair, etc. are also selected. Color will help make the character recognizable, enhance visual perception and emotional connection with the viewer, and emphasize their character and mood.
Experiment with different color combinations and explore how they affect the character’s personality and backstory.
- Work on dynamics and poses
Once the design and color scheme are ready, you can start creating a series of images showing the character’s different poses and movements that reflect their personality and style. This helps animators convey the character’s movements and behavior correctly, making them more lively and convincing.
At this stage, understanding anatomy and using references to correctly demonstrate dynamics will be very helpful.
- Final rendering
Create a final, detailed drawing of the character, with all design elements, lighting, and shadows. This is the final embodiment of all ideas, a visual representation of the character for the audience.
Choose the most appropriate pose and emotion for your character, work out all the details and lighting. You can add the environment to the drawing, it will help to better reveal the character’s personality. This art should create the clearest possible image of the character.